Buy one item and put it in a stash tab

Updated
Economy or higher

Buy one item and put it in a stash tab

Read the written guide

Follow each step in the app. Numbered markers show the real controls. To connect nodes, drag from output marker 1 to input marker 2. Connection maps show the completed route. Steps outside the app name where to continue.

  1. At a glance

    1. Read the scope

    Read the practice target and changes from the saved sample.

    The scope and limits are clear.

    Read and complete this step before continuing.

  2. 1. Open a personal copy

    2. Select the example

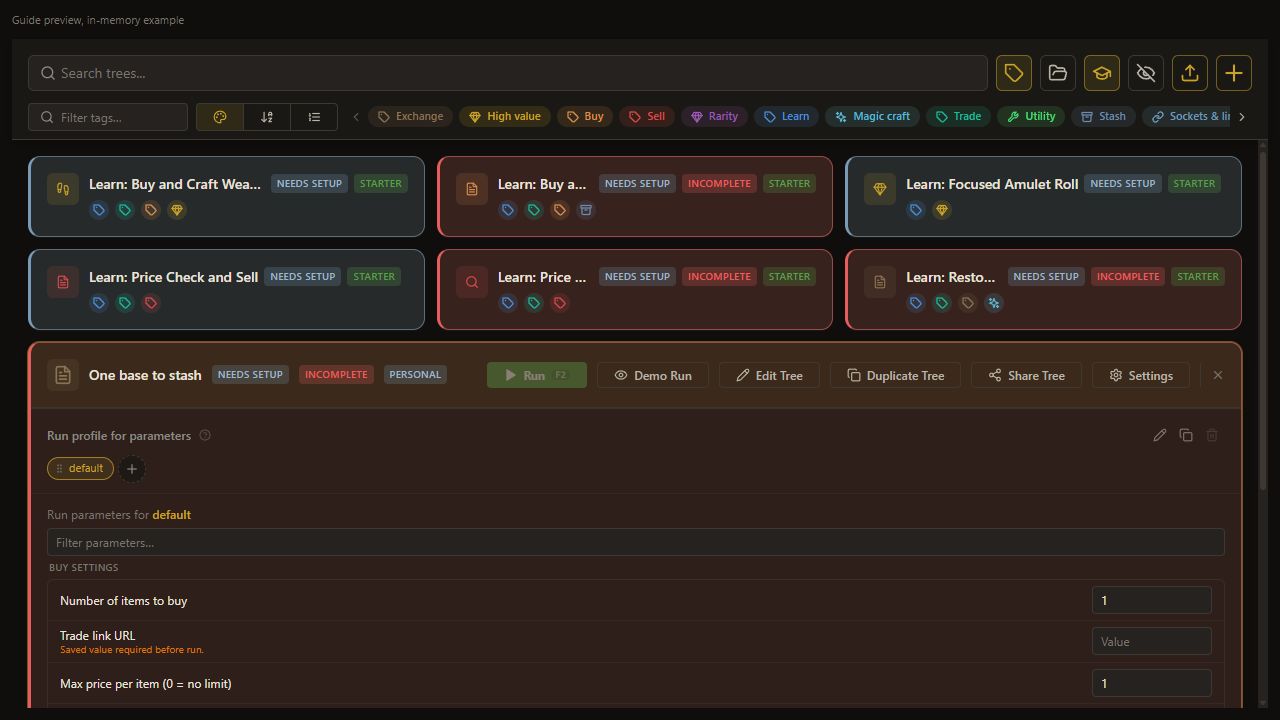
    Choose Learn: Buy and Stash Template.

    The intended Learn card is selected.

    Open full-size screenshot
  3. 1. Open a personal copy

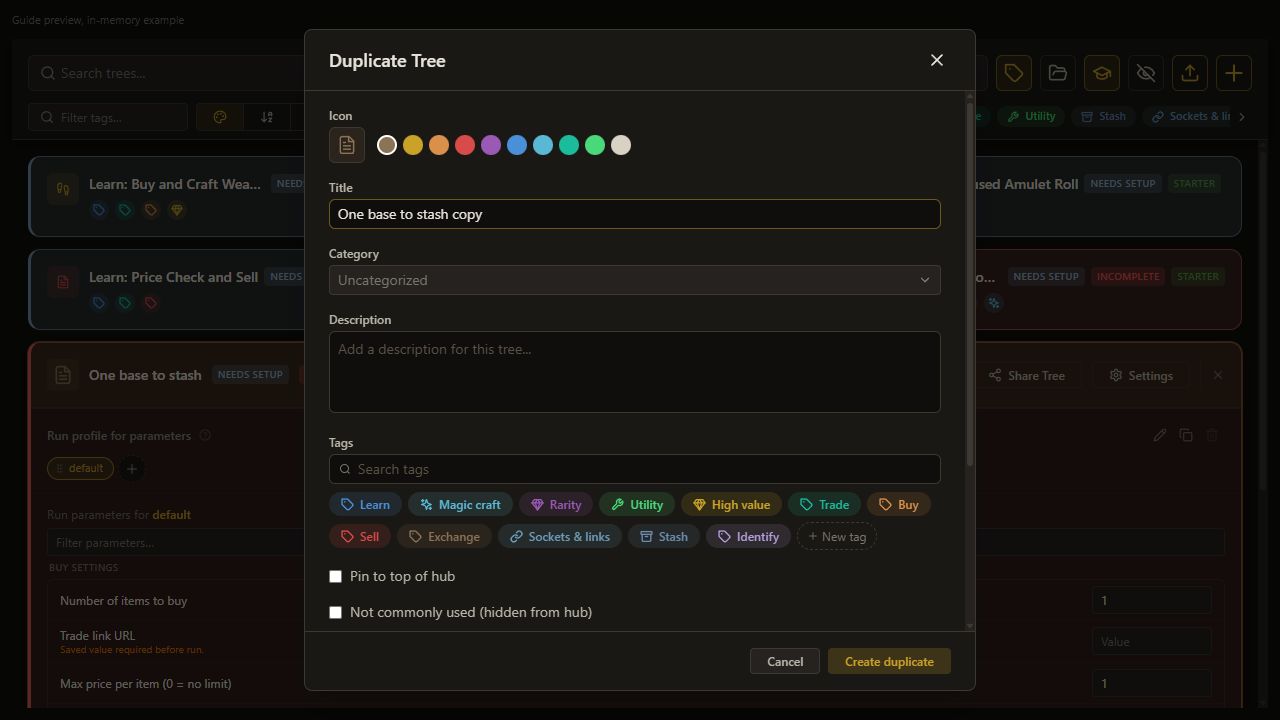
    3. Duplicate the example

    Choose Duplicate Tree.

    The copy dialog opens.

    Open full-size screenshot
  4. 1. Open a personal copy

    4. Name the personal copy

    Set Name to One base to stash.

    Name keeps the selected value.

    Open full-size screenshot
  5. 1. Open a personal copy

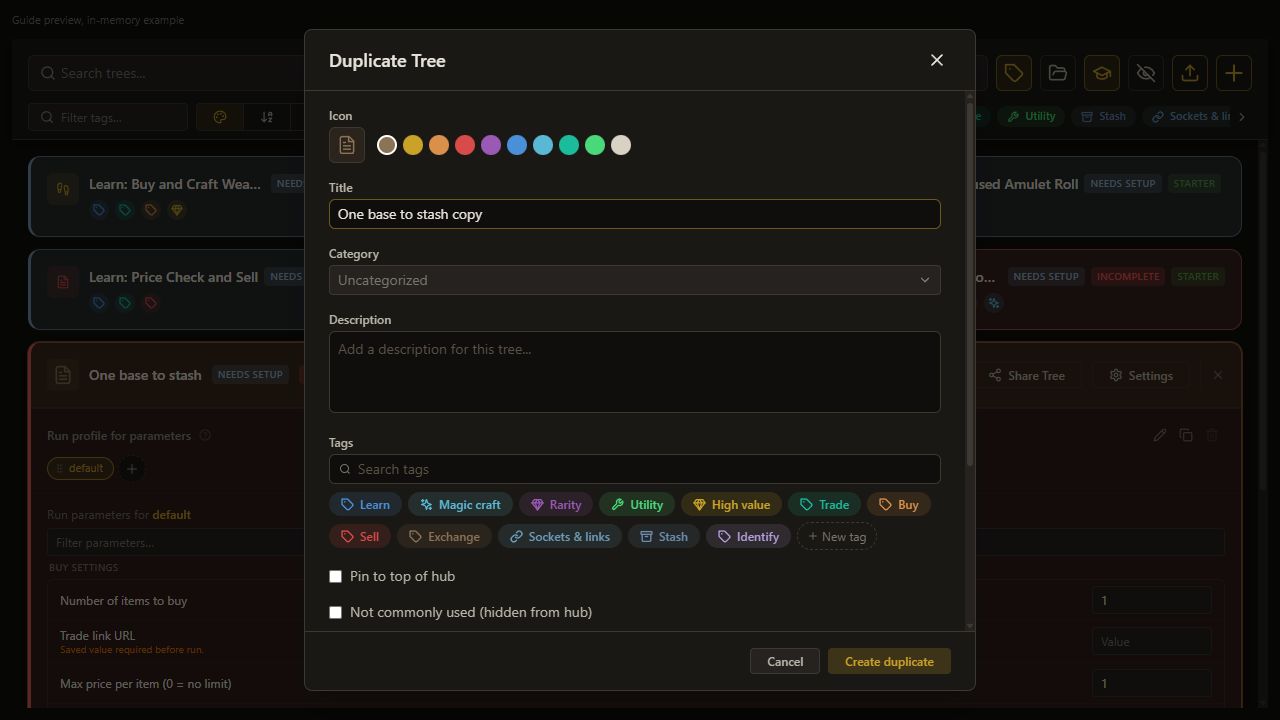
    5. Create the copy

    Choose Create duplicate.

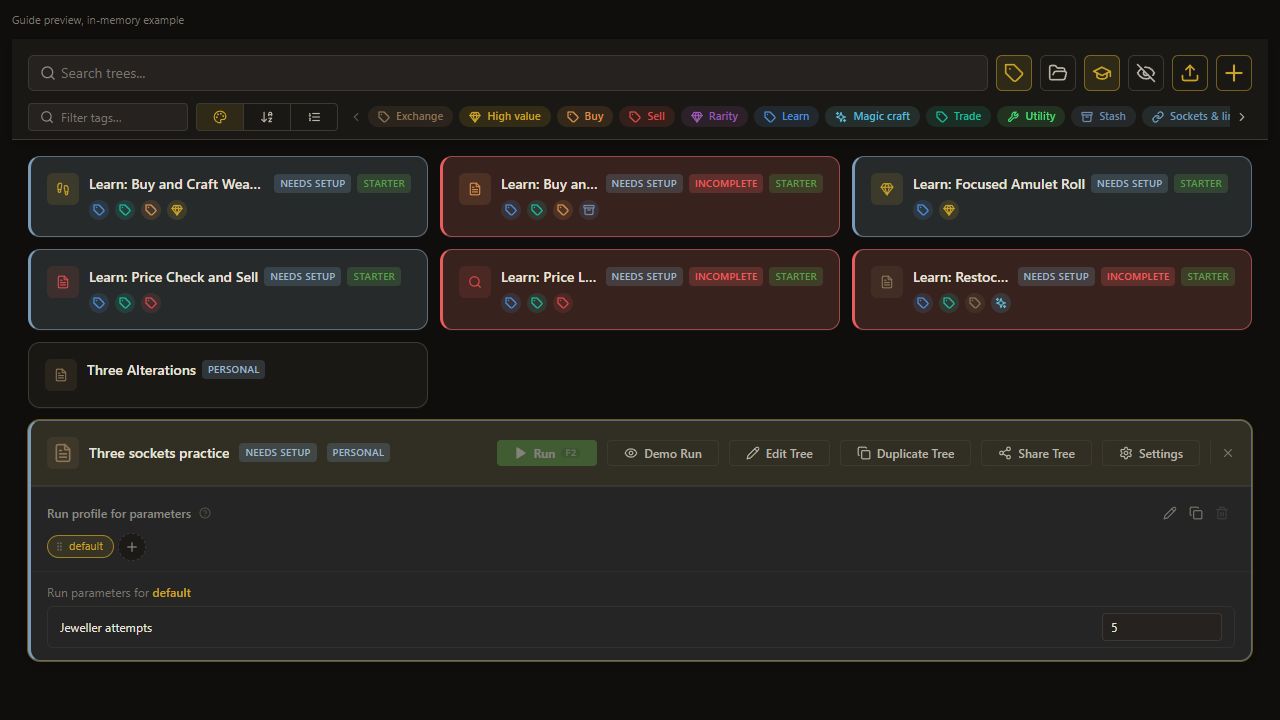
    The personal copy appears.

    Open full-size screenshot
  6. 1. Open a personal copy

    6. Open the personal copy

    Choose Edit Tree.

    The copied production graph opens.

    Open full-size screenshot
  7. 1. Open a personal copy

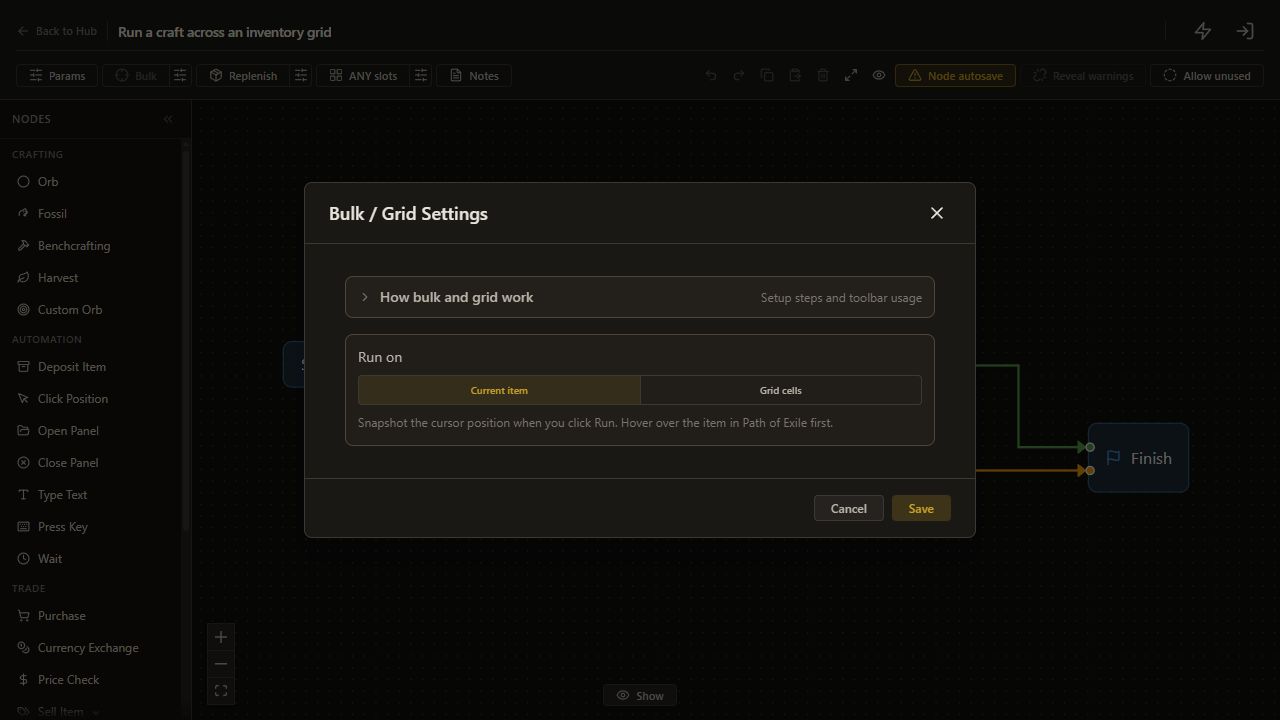
    7. Open Bulk settings

    Click the sliders button beside Bulk, labeled Configure bulk / grid settings.

    The Bulk settings dialog opens.

    Open full-size screenshot
  8. 1. Open a personal copy

    8. Keep one-item mode

    Click Current item in the Bulk settings dialog.

    Current item is selected in the dialog; click Save next.

    Open full-size screenshot
  9. 1. Open a personal copy

    9. Save one-item mode

    Click Save in the Bulk settings dialog.

    Current item is saved and the dialog closes.

    Open full-size screenshot
  10. 1. Open a personal copy

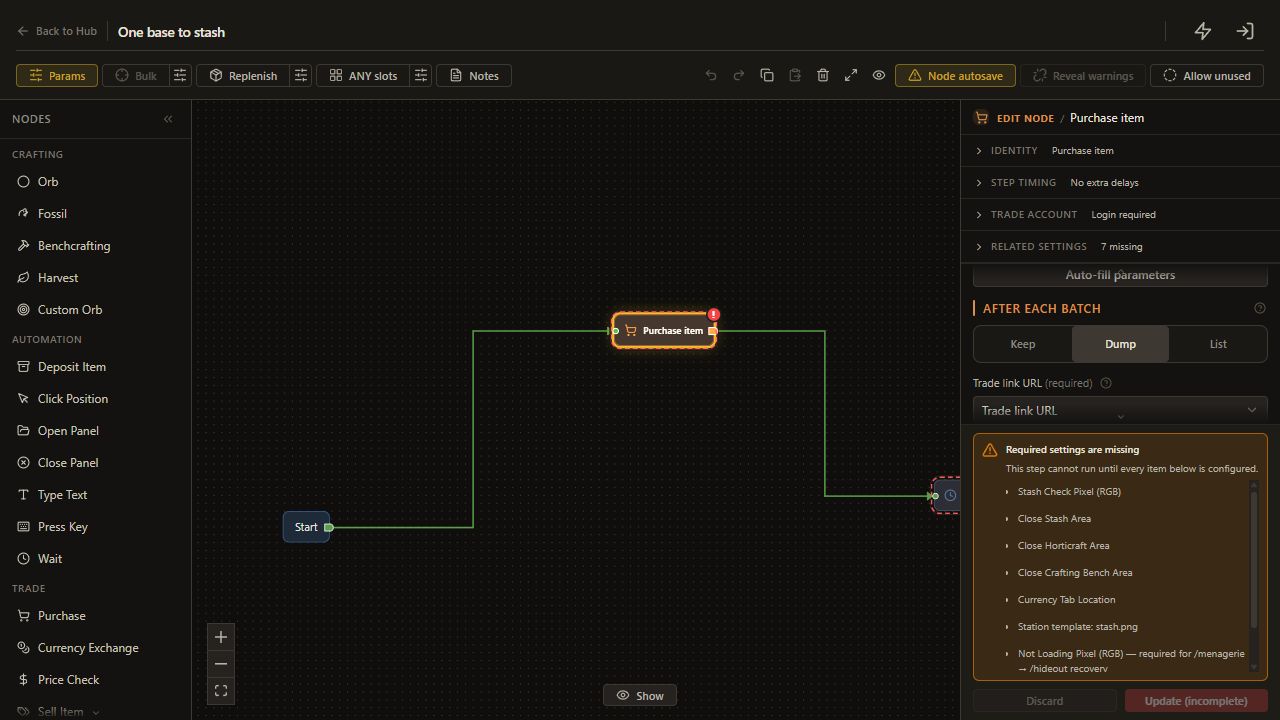
    10. Inspect Purchase

    Choose Purchase item.

    The settings open.

    Open full-size screenshot
  11. 1. Open a personal copy

    11. Choose Dump

    Choose Dump under After each batch. Keep the post-buy helper empty.

    The node exposes the stash destination settings for the bought item.

    Open full-size screenshot
  12. 1. Open a personal copy

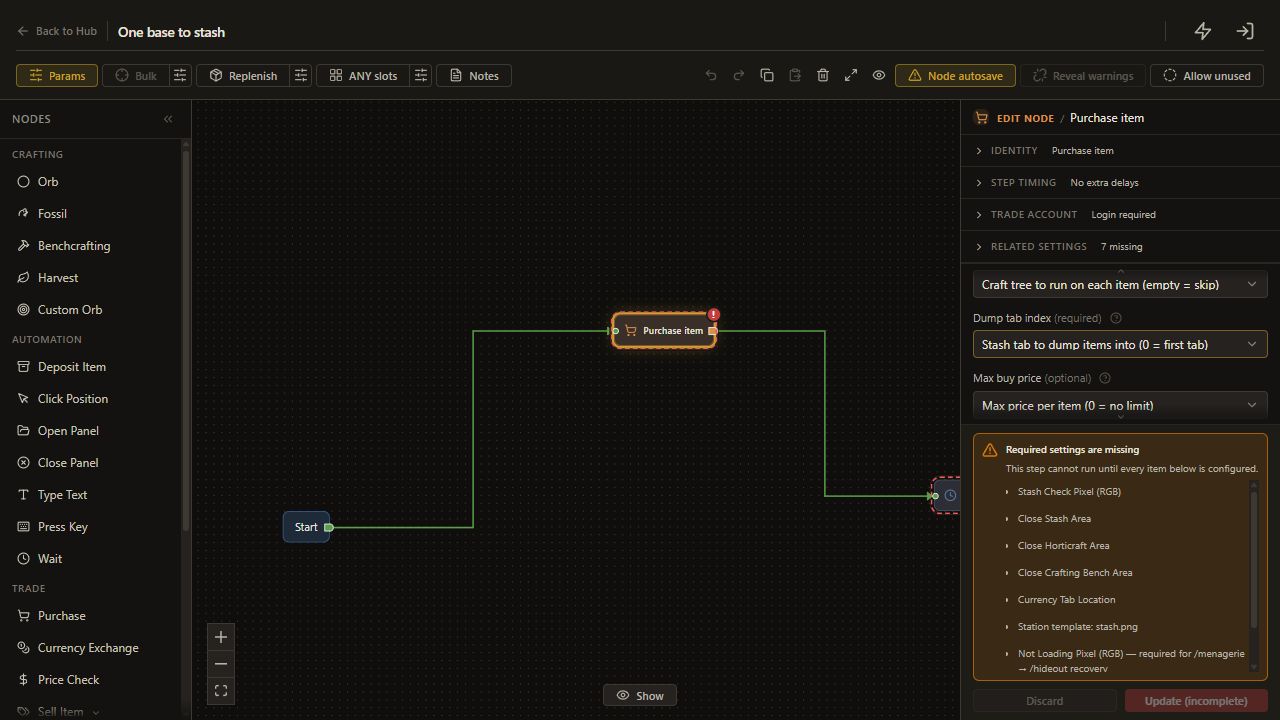
    12. Bind the destination tab

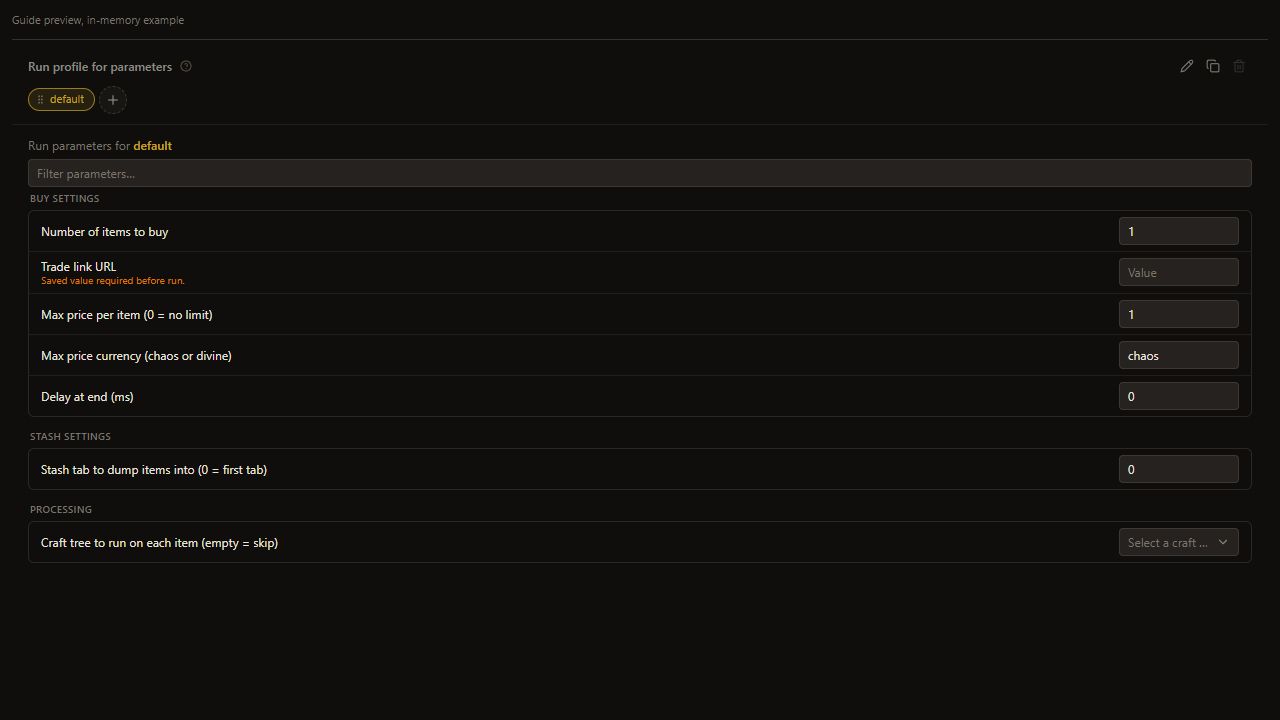
    Bind Dump tab index to Stash tab to dump items into (0 = first tab). Set its run value to 0 for the first test.

    The bought item uses the destination chosen in Run Parameters.

    Open full-size screenshot
  13. 1. Open a personal copy

    13. Prepare trade and storage

    Complete trade login, purchase setup, Inventory Grid and stash locations. Leave inventory and destination space.

    Local prerequisites are ready.

    Read and complete this step before continuing.

  14. 2. Choose the exact item

    14. Inspect an official trade search

    Choose the correct league and a low-cost base with the intended rarity and item level on the official PoE trade site. Inspect matching listings, then copy the full saved search URL.

    The purchase search is deliberate.

    Complete and verify this step in the stated app or game.

  15. 2. Choose the exact item

    15. Save the search URL

    Set Trade link URL to the inspected official saved search URL.

    The copy uses the intended search.

    Open full-size screenshot
  16. 3. Fill the purchase settings

    16. Find saved inputs

    Select the tree on the Hub and find its Run Parameters section.

    The copy's saved values appear.

    Read and complete this step before continuing.

  17. 3. Fill the purchase settings

    17. Set Number of items to buy

    Set Number of items to buy to 1.

    Number of items to buy keeps the selected value.

    Open full-size screenshot
  18. 3. Fill the purchase settings

    18. Set Max price per item (0 = no limit)

    Set Max price per item (0 = no limit) to 1.

    Max price per item (0 = no limit) keeps the selected value.

    Open full-size screenshot
  19. 3. Fill the purchase settings

    19. Set Max price currency (chaos or divine)

    Set Max price currency (chaos or divine) to chaos.

    Max price currency (chaos or divine) keeps the selected value.

    Open full-size screenshot
  20. 3. Fill the purchase settings

    20. Wait for Saved

    Wait until the form shows Saved.

    The inputs are persisted.

    Read and complete this step before continuing.

  21. 4. Set the destination and processing

    21. Find saved inputs

    Select the tree on the Hub and find its Run Parameters section.

    The copy's saved values appear.

    Read and complete this step before continuing.

  22. 4. Set the destination and processing

    22. Set Stash tab to dump items into (0 = first tab)

    Set Stash tab to dump items into (0 = first tab) to 0.

    Stash tab to dump items into (0 = first tab) keeps the selected value.

    Open full-size screenshot
  23. 4. Set the destination and processing

    23. Set Craft tree to run on each item (empty = skip)

    Set Craft tree to run on each item (empty = skip) to .

    Craft tree to run on each item (empty = skip) keeps the selected value.

    Open full-size screenshot
  24. 4. Set the destination and processing

    24. Set Delay at end (ms)

    Set Delay at end (ms) to 0.

    Delay at end (ms) keeps the selected value.

    Open full-size screenshot
  25. 4. Set the destination and processing

    25. Wait for Saved

    Wait until the form shows Saved.

    The inputs are persisted.

    Read and complete this step before continuing.

  26. 4. Set the destination and processing

    26. Read the delay scope

    Inspect Delay at end: it runs after purchase and depositing, rather than spacing individual purchases.

    Account timing stays unchanged.

    Open full-size screenshot
  27. 5. Inspect the route and start

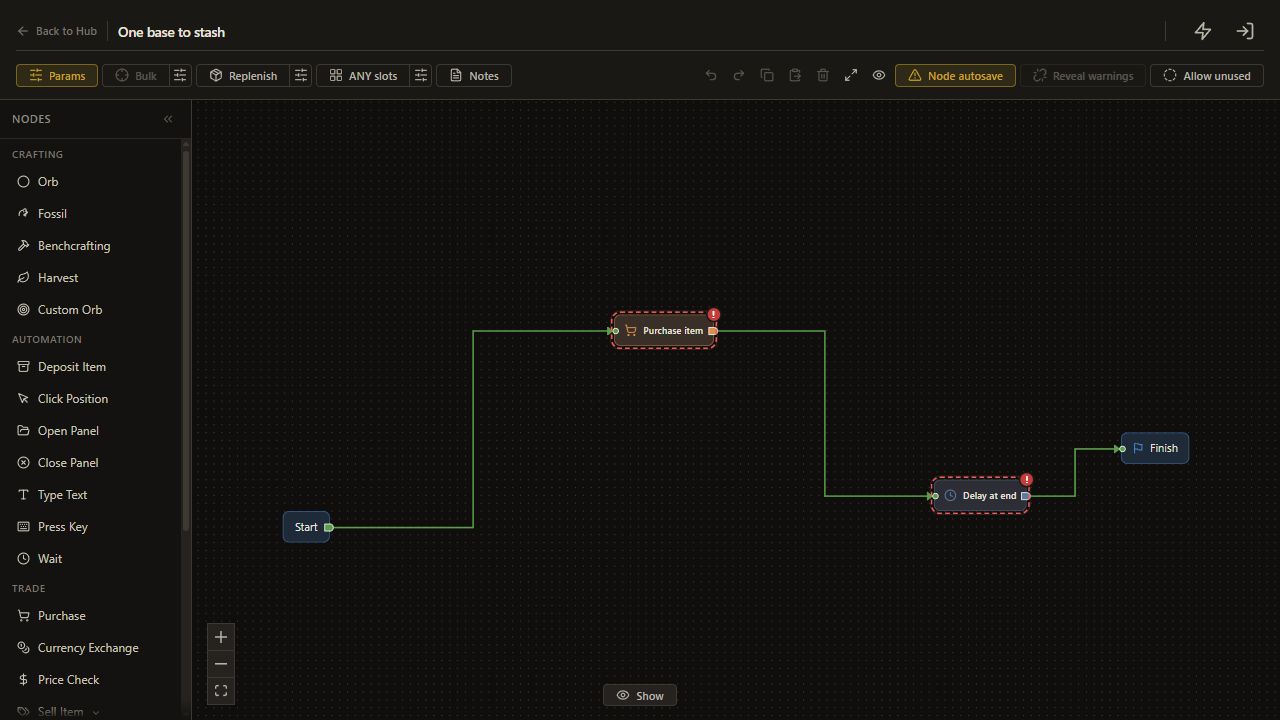
    27. Inspect Start output to Purchase item

    Trace the saved connection from Start's unnamed output to an input on Purchase item.

    The next route reaches Purchase item.

    Open full-size screenshot
  28. 5. Inspect the route and start

    28. Inspect Purchase item output to Delay at end

    Trace the saved connection from Purchase item's unnamed output to an input on Delay at end.

    The next route reaches Delay at end.

    Open full-size screenshot
  29. 5. Inspect the route and start

    29. Inspect Delay at end output to Finish

    Trace the saved connection from Delay at end's unnamed output to an input on Finish.

    The next route reaches Finish.

    Open full-size screenshot
  30. 5. Inspect the route and start

    30. Check required inputs

    Verify URL, count, price cap, currency and destination. Supply all Saved only fields on the Hub.

    Required inputs are saved before Start.

    Read and complete this step before continuing.

  31. 5. Inspect the route and start

    31. Start one purchase

    On the selected Hub card, choose Run after checking the real setup.

    The configured one-item run can begin.

    Open full-size screenshot
  32. 5. Inspect the route and start

    32. Read the purchase log

    Choose Logs.

    Purchase and deposit can be inspected.

    Open full-size screenshot
  33. Check the result

    33. Open Logs

    Choose Logs.

    The actual sequence and exit can be inspected.

    Open full-size screenshot
  34. Check the result

    34. Inspect the actual result

    Open the first stash tab. Compare the actual base, properties and cost with the search and cap.

    The one purchased item is in the selected stash tab.

    Complete and verify this step in the stated app or game.

  35. If it does not work

    35. Review if it does not work

    If buying stops, check trade login, available currency, search league and the cheapest matching price. If the item remains in inventory, inspect the dump-tab binding, free stash space and stash capture.

    The section context and checks are preserved.

    Read and complete this step before continuing.

  36. Next guide

    36. Review next guide

    [Purchase Items](bulk-buy.md) explains the underlying purchase controls.

    The section context and checks are preserved.

    Read and complete this step before continuing.

On this page

At a glance

Use Learn > Trade Buy > Buy and Stash Template to buy one practice base and deposit it in the first stash tab. The same source is used by the Bulk Buy built-in entry. The saved flow is Start > Purchase item > Delay at end > Finish. Its required saved inputs are empty, so configure them before starting.

1. Open a personal copy

Find Learn: Buy and Stash Template on the Hub and use Duplicate Tree. Give the copy a distinct name, such as One base to stash. Open Edit Tree and inspect Purchase item. Choose Dump, then bind Dump tab index to the existing Stash tab to dump items into (0 = first tab) parameter. Set that parameter's run value to 0 for the first test.

Open Edit Tree. Click the sliders button beside Bulk in the editor toolbar, labeled Configure bulk / grid settings. Choose Current item, then click Save. The dialog closes and the tree uses one item.

Complete trade login, purchase setup, Inventory Grid and stash locations on this PC. Leave room for the item in both inventory and the target stash tab.

2. Choose the exact item

Create a saved official trade search for the correct league and a low-cost base you actually want. For example, choose one weapon base with the rarity and item level you need. Inspect the search results before copying its full URL.

Return to the copy's Run Parameters. Save that URL as Trade link URL. Every item matching this search is eligible to be bought.

3. Fill the purchase settings

Set Number of items to buy to 1. For a hypothetical one-chaos purchase, set Max price per item (0 = no limit) to 1 and Max price currency (chaos or divine) to chaos.

The price ceiling is per item. Entering 0 removes it. Use your own acceptable price after reviewing the search, then wait for Saved.

4. Set the destination and processing

Set Stash tab to dump items into (0 = first tab) to 0. This is a zero-based stash index: 1 selects the second tab.

Leave Craft tree to run on each item (empty = skip) empty for this case. Set Delay at end (ms) to 0, or enter a deliberate end pause. The delay happens after buying and depositing; it does not space individual purchases.

5. Inspect the route and start

Confirm Start reaches Purchase item, then Delay at end, then Finish. Check the saved URL, count, ceiling, currency and destination before Start. The required fields use Saved only, so supply their values on the Hub rather than relying on a fallback.

Run the personal copy once and read Logs when it finishes.

Check the result

Open the first stash tab and confirm the purchased base arrived there. Compare the item's properties and actual cost with your search and ceiling. Keep the batch at one until the destination and filters are correct.

If it does not work

If buying stops, check trade login, available currency, search league and the cheapest matching price. If the item remains in inventory, inspect the dump-tab binding, free stash space and stash capture.

Next guide

Purchase Items explains the underlying purchase controls.

Keep learning

Browse all guides

For setup help, the installer or license keys, join the official Discord. Sales and key issues: DM PathOfRolling. Check the account before paying; watch for impostors.